
I got hooked on making my own bread some time ago and I have tested multiple recipes since and made a few mistakes along the way. I find the process very satisfying and the freshness and the odour that fills the house is amazing! When you think about it, you only need to put together a few simple ingredients (flour, water, salt and yeast) for a nutritious and delicious loaf of bread!
I started reading the book «Flour Water Salt Yeast: The Fundamentals of Artisan Bread and Pizza » by Ken Forkish. This book taught me the basics of bread making (which gave me the idea of making my own leaven… stay tuned!) and I strongly recommend it if you want to know more on the subject. It inspired the recipe I’m about to share with you! I also loosely based myself on the very famous recipe of Jim Lahey, who commercialized a no knead recipe for homemade bread. I also recommend the documentary ‘Cooked’ on Netflix about the art of bread making and gluten.
So here is an easy and inexpensive way to make your own bread with a dutch oven (it will cost you approximately $1.00 per loaf of bread). I usually start in the evening for it to be ready by morning.
So let’s do this :)
What you need:
- A kitchen scale ( I recommend using a scale to weigh all your ingredients)
- A large bowl or pot to fit all your ingredients
- A dishcloth
- A reusable beeswax sheet (optional)
- Oven mittens
- A measuring cup
- Measuring spoons
- A Cast iron casserole / Dutch oven like Le Creuset or Lodge
Ingredients:
- 500 grams of flour or 3 ¼ cup*
- 390 grams of lukewarm water or 1 ⅓ cup (more or less, depending on the type of flour you are using)
- 1 ½ teaspoon of salt
- ¼ teaspoon of instant dry yeast**
*I use unbleached flour by La Milanaise, think about using good quality flour! You can also use bread flour, it has more proteins so it is perfect for bread (hence the name :) )
** This recipe uses a very small amount of yeast since the rising time is very slow (12 to 18 hours). Believe me, it works! If you want to accelerate things, you can use ½ teaspoon of yeast for a rising time that will last 8 to 10 hours. I cannot guarantee that the results will be the same, I always opt for a very slow rising time (18 to 24 hours)
Steps:
- Put the bowl on your scale (tare the scale to zero) and add your flour, salt, yeast and then water.
- After washing your hands, handmix everything together. The mix will be sticky, it’s normal. Loosely mix everything so that the water and flour are well mixed together. You will then have a sticky ball, and that is what we want!
- Place a dishcloth or lid or a reusable beewax wrap on your bowl. Place it somewhere warm and away from fresh air. In the winter, your home will be cooler and that could slow down the process. Put your bowl in the oven (no need to turn it on) with the light on, or with a bowl filled with warm water. You can experiment different methods! Personally, I bring my bread mix in my bedroom at night hahaha. It is the warmest room at night.
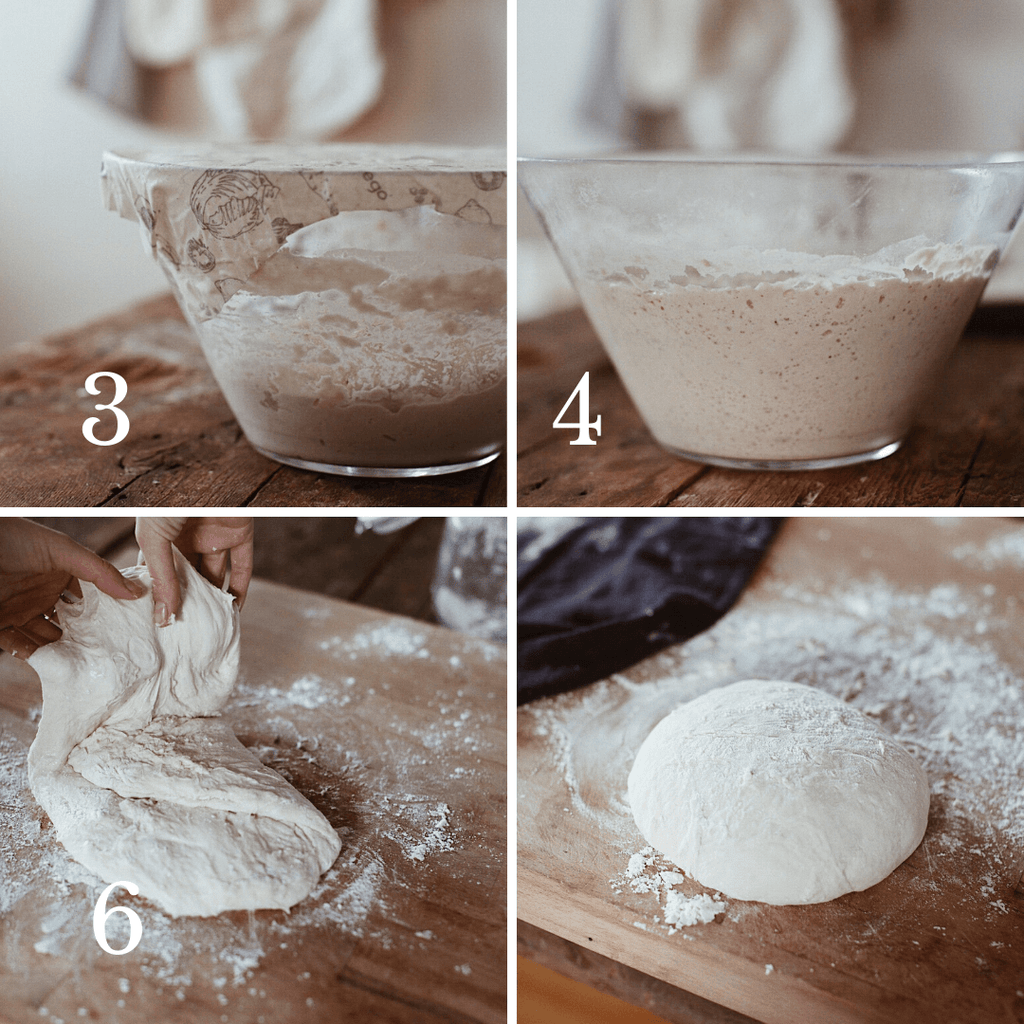
- 12 to 18 hours later, your mix should have doubled and you should see bubbles on top.
- After scrapping gently your mix out of the bowl, drop it on a clean floured surface (make sure to flour your hands as well)
- Shape your ball, add flour if needed to make sure it doesn’t stick. Stretch a corner of the dough from the exterior to the center. Repeat this with 2 other corners and when doing the same thing with the third corner, fold the dough completely so that it makes a ball ( to better understand, you can watch our video here). With your hands and fingers, gently press your ball, exterior towards interior. Turn it over 2-3 times, while pressing some more.
- Put your ball in a clean bowl to rise some more. I add a bit of oil and lots of flour to make sure it doesn't stick and leave it to rise some more for an extra hour.
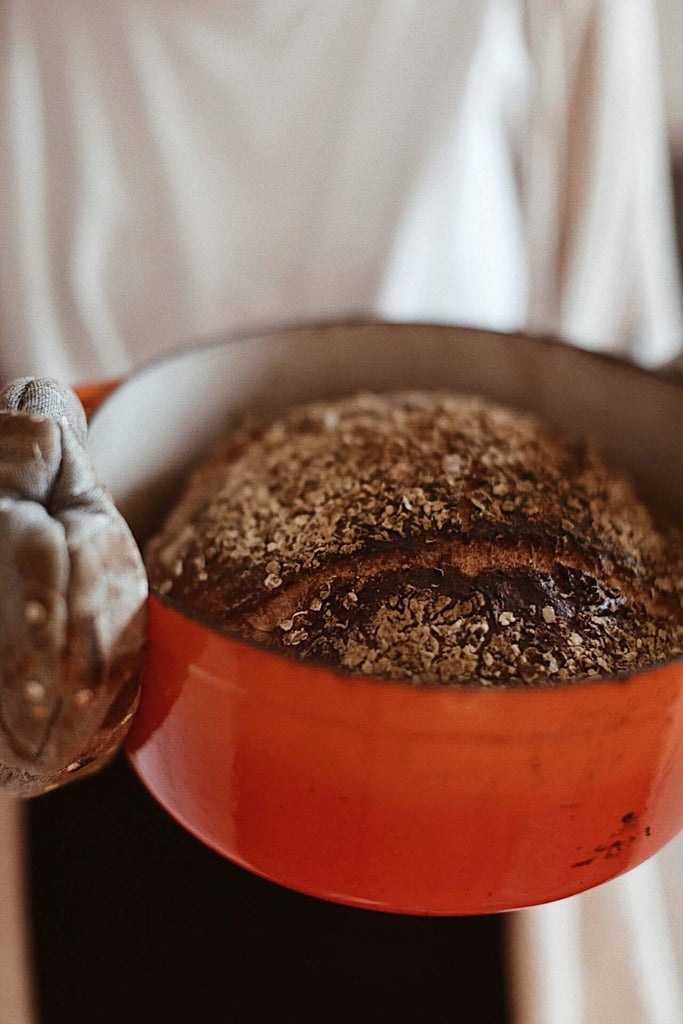
- Preheat the cast iron casserole with the lid on in the oven set at 475F (depending on your oven) for at least 45 minutes.
- Take the casserole out of the oven with oven mitts (be careful, it will be very hot) and with flour on your hands, slowly place the dough in the casserole dish with the lid on. The top of the dough will be the bottom of the loaf.
- Cook for 30 minutes or till the loaf is a golden even color. Take the lid off and cook for an additional 20 minutes or till the crust is to your liking. I prefer a crust that is a dark golden colour, almost burnt. *
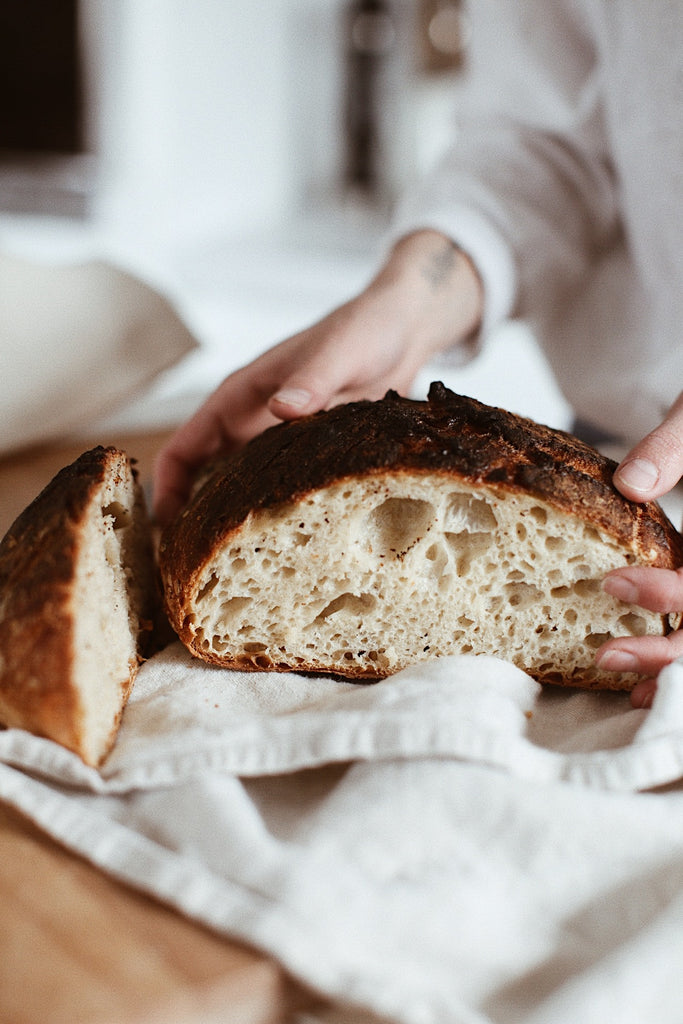
- Take the bread out of the oven and flip your dish upside down so that your loaf drops on a rack where it will cool down.
- The hardest part is to wait 15-20 minutes before slicing it. The bread is still cooking and we don’t want the steam coming out. Next, enjoy our bread :)
*Depending on your flour, you might need to cook longer or less.
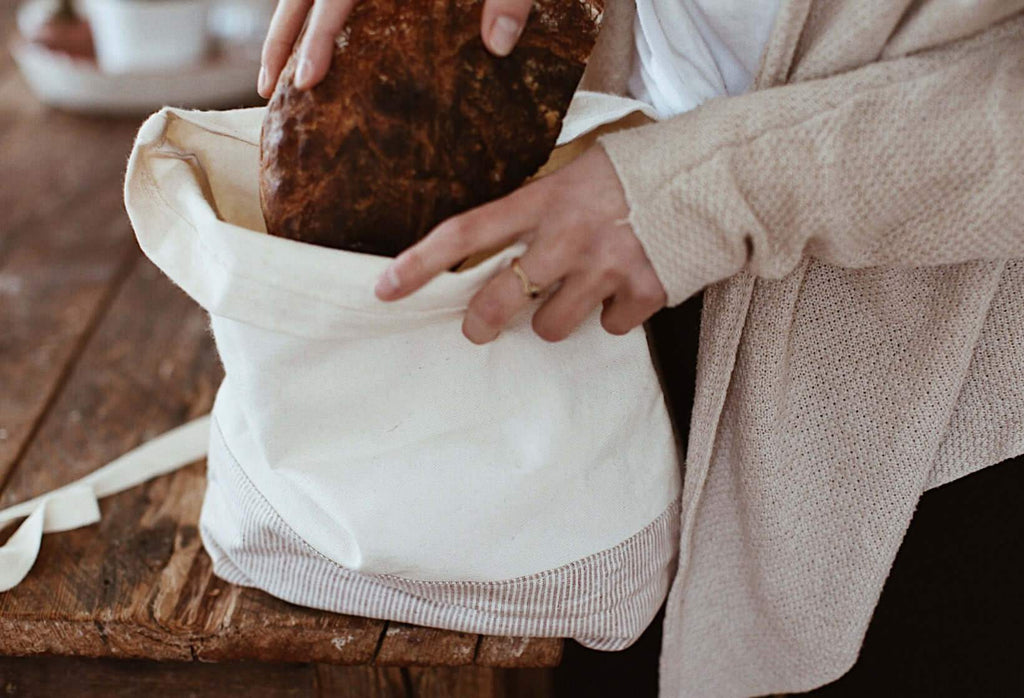
You can keep the loaf 3 days, on the counter, in a reusable cotton bag. You can also freeze it(still in the bag). But i’m pretty sure you won’t have to, it will be gone by then!
Don't be shy to experiment! Many factors can influence the end result (Room temperature, oven temperature, rising time, the flour or yeast you use, handling). I am not an expert, just someone who is passionate, so I will try to answer your questions to the best of my knowledge!


Bonjour Jacinthe, oui vous devez laisser le four à 475 degré (selon votre four).